here are the basic steps for putting a project on a cd.
the idea behind all this, is that you only put one version of your (big) director project on the cd, but create a "starter" to play your project. one for the pc and one for the mac. the starter is around 2 megabytes in size, and contains the director engine. one for the pc, and one for the mac, so both mac and pc can play your project file. this way you make maximum use of the cd space. |
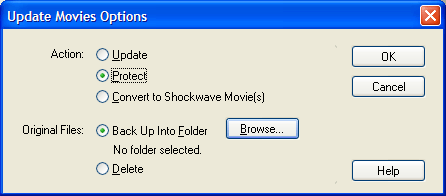
protect your director project. first save your movie. go to the menu "xtras, update movies". if you didn't save your project first, director will ask you to save it now. just remember that if you do not have a copy of your original file, you will have quite a big problem after the conversion. be very careful, you are warned. at the upper half of the menu, select "protect" and hit "ok".
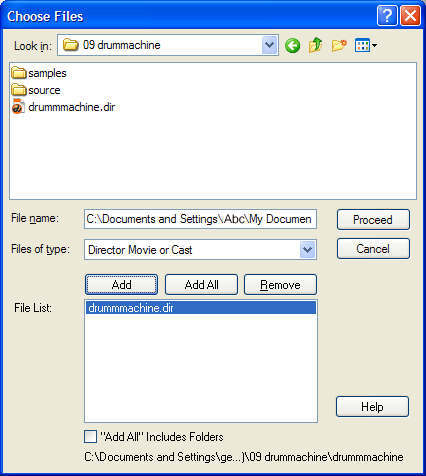
here you can select the files that you want to convert into protected files. that is why you had to save your movie first before you can protect it: director only converts projects that are on the harddisk, not the project that is currently loaded into director. select the director file and click "add". then click "proceed". when you did not select a folder for your original files, here is your last chance, after this you get a last warning, which you should read and understand before you click "ok". director starts the conversion, and you will find a ".dxr" file in stead of a ".dir" file. when you try to open it, you get an error. |
create a starter movie. first start a new director project. save this project into the same folder as your protected ".dxr"-file and call it something like "start.dir". check if it works by playing this "start" movie. it should open and play the protected movie. |
create a projector ("executable") of the starter movie. one for the mac, and one for the pc. it is easiest to do this on a macintosh osx machine. open the "start" movie and go to "file, publish settings". for windows, the ".exe" file extension is obligatory. hit "publish". when you create the projectors on a windows machine, for safety reasons your macintosh projector will be zipped into an ".hqx" file. you first have to unzip it, before you can burn it. winzip or stuffit for windows will do the job nicely. on the mac, you use the program stuffit to unpack the file. do not forget to test. on a windows computer, double click "start.exe", and on a macintosh computer, start the mac "start" projector. your director project should start. sometimes, this is called a "stub" movie. see foldoc or wikipedia (nl, uk). |
make the cd autostart. for the macintosh: os9 and earlier ("classic mac") can take autostart cd's, but you have to create them on an apple computer with a classic os9 or earlier installed. the burning software (like adaptec "toast") lets you point to the file that automatically starts when the cd is loaded into the mac. osx and later cannot take autostart cd's. this functionality is disabled for security reasons. in the past, too many viruses were spread using the cd autostart function of the mac. windows can take autostart cd's. when the cd is inserted into the machine, windows looks for a file named "autorun.inf" in the root of the cd. this is a text file, and you can create one yourself with notepad (pc) or simpletex (mac). do not use office word, because the file has to contain only plain text, no markup.
now you have the following files that have to be copied to the cd: burn and test your cd on a windows and a macintosh computer. |

 the next pop up window will show:
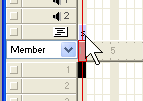
 place the behavior on the first frame of the behavior channel in the score.